Popular Recipes

Thursday, March 3, 2011

"Sweet Treats"- 3 minute Pedhas/Condensed milk Pedas

Looking for a 'sweet treat' that is fast and easy??? This one is the right choice.These Pedhas are made with 3 ingredients(plus food coloring/ essences if you wish) and in the microwave oven in 3 minutes!!!! Yes, you read it right....3 MINUTES!

The other day, it was 'S's birthday and I wanted to make something sweet for her.I remembered the 'quick' pedhas 'V' and I had made together a year or too back.There are many recipes online on sites like 'Show me the Curry' and Vah-re-vah'.
Since making these 'pedhas' doesn't take much time, you can show your 'artistry' by decorating the pedhas in various ways and shapes.
(But if you have more time and want to make the 'real' thing....like the traditional malai pedhas......try these made with Ricotta Cheese-

http://my-kitchens-aroma.blogspot.com/2009/10/treats-for-diwali-ricotta-cheese.html )

For this time I had these really cute plastic/rubber trays that I use to mold the quick pedhas:
Ingredients:
1 stick unsalted butter+ little to butter the molds
2 cups milk powder (Use Nestle Nido if you can find)
1 14oz can Sweetened Condensed milk

Flavorings:
Heart shape pedhas:

Cardamom powder
Nutmeg powder
Saffron sticks

For the Flower shape:

Rose essence
Red food coloring
Sprinkles

Method:
1) Bring the butter to room temperature.
2) In a microwave safe dish, mix butter, milk powder, condensed milk and flavorings of your choice.
3) Microwave for 3 mins.At each 1 min interval, mix everything together.
4) Let it cool,then form into traditional round pedhas or mold into various shapes. Add food coloring if desired.Decorate with saffron, sprinkles or silver foil.


Tuesday, March 1, 2011

"Fusion Cuisine"- Tofu Tikka Panini

'Panino'/Panini' in Italian means 'small bread rolls'. They are filled with cheese, ham, salami etc and sometimes grilled.The bread is usually ciabatta or rosetta.
In the quest of 'What to make for dinner'...I put together this sandwich.I used what I had on hand thus creating a 'Indianized grilled Panini'.
Ingredients:
1 loaf Italian bread

For Tofu Tikka:
(This recipe will work great with Paneer too)
1 pkg 'extra firm' tofu drained and dried with paper towels
1 tsp yogurt
1tsp Kitchen king masala/Tikka masala
1/2tsp ginger garlic paste
1/2tsp chili powder(add more for spicy tikka)
1tsp Maggie hot and sweet sauce
1 tsp chopped cilantro
2tsp corn starch
salt
oil

For the toppings:
1/2 cup Sliced onions
1/2 cup Sliced green peppers
1/4 cup Broccoli florets
Black pepper
salt
Slices of Pepper jack/Jalapeno jack Cheese
Butter
Slices of tomatoes

Method:
1)Tofu Tikka: Mix together yogurt, kitchen king masala, chili powder, ginger-garlic paste, salt, hot and sweet sauce. Cut Tofu into bite size pieces.rub corn starch on the tofu.Marinate with the above sauce.
Keep aside for 1/2hr
2) Saute the marinated tofu in non stick pan till golden brown on all sides.Keep aside.

3) Saute onions,green pepper and broccoli with little oil, salt and pepper.Keep aside.
4) Cut the italian bread horizontally. Apply butter on the inside.
5) Lay slices of cheese, sauted onions,green pepper, broccoli and then tofu tikka and tomato slices.Add more cheese if you like.

6) Grill the sandwich on a hot grill pan with little oil. Press with heavy pan to get the 'pressed panini' or use a 'Panini Press'
Serve hot!

                              Enjoy the 'crusty' Panini with its Spicy Tofu tikka filling!

Friday, February 25, 2011

"Everyday Cooking"- Thai Chicken Satay with Peanut Dipping Sauce


The other day I called 'P' to see what she was going to make for 'V's sendoff party. 'V' is moving to Florida!!! Is she lucky or what! 'P' said she is going to make 'Chicken Satay' with Peanut dipping sauce and many other items.'P' will always have a spread for a occasion.
Now I have always had 'Satay' at Thai restaurants in Ithaca.But since we moved here to Columbus, there is no Thai restaurant here and I haven't had 'Satay' for a long time now. Since Mummy is also here, I decided to give her a taste of 'Satay'...one of my favorite thai dishes...and try it at home.
'Satay' is a dish of marinated,skewered grilled meats served with a sauce.
Ingredients:
8 pieces of Boneless Chicken tenders/ strips of Chicken breast/thigh
Marinade:
1/4 cup Coconut milk
1/2 tsp Thai curry powder
1/4th tsp turmeric powder
1/4th tsp Red pepper flakes
1 tsp Soy sauce
1/4tsp Garlic
1/2tsp Ginger
1/2tsp Brown sugar
1/2tsp oil
1/2tsp chopped cilantro
salt
 (This marinate is 'Gingery', spicy and salty) It is supposed to be little more 'sweet' than in my recipe, but I like my chicken spicy.You can add more brown sugar.

8 Skewer sticks soaked in water for 30 mins
Lettuce leaves 

Peanut Dipping Sauce:

1/4th cups Peanuts
1-2 tbsp coconut milk
1tsp Sweet chili sauce
1/4th tsp chili powder
1/4th tsp ginger-garlic paste
1tsp soy sauce
1/4th tsp sugar
 salt
water to thin it out to desired consistency.

Add this after blending the sauce for some crunch-1/2tsp coarse ground peanuts


Method:
1) Mix all ingredients for the marinade.
2) Keep 1 piece of chicken at a time between plastic wrap and pound with a rolling pin to flatten it.This helps to 'sew' the skewers in the piece and also for quick cooking.
3) Marinate the chicken with the marinade and refrigerate for 2-3 hrs.
4) Sew the skewers into the marinated chicken and keep enough 'handle' on the skewers to hold while grilling.
5) Heat a 'grill' pan and spray with non stick cooking spray.Place the chicken skewers onto the pan and grill till chicken looks cooked.Then turn on the other side.

 6) Arrange lettuce leaves on the serving platter.
7)Place the grilled thai chicken satay onto the leaves and serve hot with Peanut dipping sauce.


8) Peanut dipping sauce:
Mix all the ingredients for the sauce and blend in the mixer till smooth.The sauce should taste 'Spicy+ Sweet'.Add the coarse ground peanuts for crunch in the sauce.

                       Enjoy the Thai Chicken Satay with sweet-spicy peanut sauce!


Tuesday, February 22, 2011

"Appetizers"- Corn in Phyllo cups

I love Phyllo dough and I love Corn....put them together... and I have this 'Lovable' appetizer or 'anytimetizer'!!!
Both 'Phyllo dough' ( Phyllo, filo, or fillo dough is paper-thin sheets of raw, unleavened flour dough used for making pastries in Middle Eastern and Balkan cuisine) and 'Corn' are so versatile you can use them in so many different ways. 
Photo Source- Wikipedia (In this photo- 'Baklava' made from Phyllo dough)

One more 'awesome' thing about Phyllo dough is that due to the 'food industry's' blessing we have already rolled- ready to bake- Phyllo dough sheets and cups, readily available.Otherwise think, what if you had to make the paper thin dough yourself...ufff! 
When I am short on time, I use the 'ready to bake' mini filo cups'.They are perfect to make bite size- single serve appetizers. Busy Girls best friend!
Ingredients:
Filling: ( The filling can be used to make Corn bhel topped with chopped onions, tomatoes,tamarind chutney or serve just as is or with a squeeze of lemon)


1/2 cup thawed corn kernels
1/4tsp garam masala
1/4 tsp red pepper flakes
1/4 tsp mustard seeds
salt
oil

For 'corn in phyllo'
15 ct mini phyllo cups
1tbsp hot and sweet sauce
1/4 cup chopped onion
1 tbsp chopped cilantro
1tbsp fine sev


Method:
1) Bake the phyllo cups according to packet instructions( I warm them up in the oven at 350F for 3-4 mins) to make them crisp.
2) Heat oil in the pan, add mustard seeds, corn kernels, garam masala,salt red pepper flakes and toss till warmed through.Let it cool.The filling should be somewhat dry.
3) To the baked phyllo cups, add 1 tsp corn filling. Top off with hot and sweet sauce, onion, sev and cilantro. Can add tomatoes too.


     Enjoy the crisp phyllo cups with the corn filling with tangy sauce and crunch onions and sev!

Friday, February 18, 2011

"Fusion Cuisine"- Indian Sloppy Joes/Chicken Kheema Pav


A sloppy joe is an American dish of ground beef, onions, sweetened tomato sauce or ketchup and other seasonings, served on a hamburger bun. A similar dish, mainly a 'street food' in Pune is the delicious, spicy and satisfying...or should I say 'unsatisfying'( because you will crave more.. for sure!) 'Kheema Pav'. Instead of ground beef, ground mutton/lamb is used for the recipe and is served in bread similar to 'Pav Bhaji' bread.

There was this mutton shop close to my house, who made these Kheema Pav's .The kheema were spicy from the Indian spices and went really well with the tangy tomato sauce,crunch of the onion and the buttery taste of ...well the 'butter' that they slather on the bread!

I make my 'Indian Sloppy Joes'( and yes they are very 'Sloppy' to eat..you need a plate and lot of tissues!!) with' ground chicken'/ chicken kheema and either french bread or crusty Italian bread.I think they can hold these 'sloppy joes' better!

Ingredients:
For Chicken Kheema

1 cup ground chicken
1/2 cup finely chopped onion
1 tomato finely chopped
1/4 cup finely chopped onion for garnishing
1tsp garlic finely chopped
1/4 cup boiled green peas(optional, just for 'pop' of color)
2tsp Chicken curry masala
1/2tsp turmeric
1-2 tsp chili powder(depends on how spicy you want)
1/2tsp shah jeera
oil
salt
Cilantro chopped

For sloppy joes:
Loaf of French or Italian bread, cut into sandwich size
Ketchup
Butter (Use Amul butter for more buttery taste) (skip for a low calorie version)


Method:
1) In little oil, fry the shah jeera,onions and garlic till tender.Add the tomatoes and fry for another 2 mins. Add turmeric, chicken curry masala, chili powder. Add the ground chicken, green peas,salt and cook till the kheema looks 'opaque' and cooked. Cook till all the chicken juices evaporate and the kheema becomes somewhat dry but still moist.
2) Spread butter on the inside of the bread.Add tomato ketchup, kheema, chopped onions and cilantro.
3) Warm up the 'Sloppy Joes' on little oil/ butter on a flat pan, till the bread becomes golden brown and slightly crisp.
4) Serve Hot with a Lot of tissues!


                                 Enjoy this spicy- tasty- tangy-crunchy-sloppy sandwich!


Tuesday, February 15, 2011

"Fusion Cuisine"- Paneer Tikka Pizza

'The grass is always greener on the other side' as they rightly say, when I was in India, I would crave the 'western' type food...and now that I am here in USA, I am craving the hot ,spicy, zesty and tasty Indian food. I love how the 'food companies' cater to the tastes of people in different countries. In India, Pizza- hut has these 'mouthwateringly-delicious' pizzas- Paneer Tikka Pizza, Chicken tikka pizza etc which are nothing but 'Indianized' pizzas with popular indian toppings. I just love those! When I visit Pune, I do eat at Pizza hut for these Pizzas.Obviously, we have no such pizzas here and hence there is only one option- make it yourself!
I made Panner tikka pizza the other day to revisit 'Pizza hut India'!
Ingredients:

For Paneer Tikka Topping
1 cup Paneer cubes
1/2 tsp Ginger garlic paste
1 tsp yogurt
1/2tsp Kitchen king masala
1tsp chili powder
1tsp cumin-cilantro powder
salt
oil
chopped cilantro
For pizza:
1 Boboli Pizza base
1/4 cup Pizza sauce (Tomato sauce with Italian herbs) ( I sometimes use plain Ketchup!!)
1/2 cup shredded pizza blend cheese/ mozzarella cheese
1/4 cup sliced green peppers
1/2cup thinly sliced onions
1/2tsp red pepper flakes
Black pepper
2 pinches ajwain seeds
salt
chopped cilantro


Method:
1) Mix together yogurt, kitchen king masala,chili powder, salt, ginger garlic paste, cumin-cilantro powder.Marinate the Paneer cubes and keep for 1 hr.
2) In a nonstick pan, stir fry the marinated Paneer on oil till golden brown from all  sides.All the chopped cilantro.Paneer Tikka is ready.Can serve as appetizer or with roti/naan.
3) Pre heat the oven to 400F.
4) On the pizza base, spread the pizza sauce.Top with Paneer Tikka, sliced onions, green pepper, cheese, red pepper flakes ,ajwain ,salt and black pepper, chopped cilantro

5) Bake at 400F for 10-15 mins or so till the cheese has nicely melted. Broil in the oven for 1-2 mins.
6) Serve hot!!


Sunday, February 6, 2011

"Everyday Cooking"- Chicken Tandoori

You know, sometimes you crave things which others have...it happens to me in case of food ..A LOT!
Many a times, when a friend mentions "Oh I cooked Chinese noodles today or I made some Bhel chaat or I baked so and so.....my mind already makes plan to crave and make me make that thing in the next few days.Does that happen to you???
My friend 'S' made this really 'amazing looking' Tandoori chicken the other day and posted the pictures on facebook...and tadah...I had to make it!!! Of course I do not have a 'Tandoor' oven but roasted it in the regular oven.It was so good..spicy, juicy on the inside and caramelized on the outside....ummm ..I am craving it again already :)
TANDOOR: Is a cylindrical Clay oven used in cooking and baking.In Tandoor, the food is actually exposed to live fire of wood/charcoal etc (Sort of like Barbaque) and also hot air like the convection oven. The temperatures in the tandoor can reach upto 400C(900F). The food that comes out of the tandoor has characteristic appearance- roasted in dry heat and a little charred at some spots.


Ingredients:
4 Chicken Drumsticks(skin removed)

For Marinade:
1 tbsp Tandoor Chicken masala
1 tsp Garam masala powder
1-2 tsp Chili powder
1/2tsp Turmeric
1/2tsp cumin-coriander powder
1 tsp Ginger Garlic paste
1 tsp Lemon juice
1tsp oil
salt
few drops of red food coloring (optional)

Method:
1) Wash the chicken and dry thoroughly with paper towels.
2) Mix the ingredients for the marinade.Taste to check the spice level or add more chili powder
3) Rub the marinade on the drum sticks.
4) Marinate for 3-4 hrs in the refrigerator.
5) Pre heat the oven to 400F
6) Place the marinated chicken on a oiled baking sheet.
7) Bake for 20-30 mins till the chicken is cooked tender (starts to fall apart from the bone) and looks caramelized from outside.Oven temperatures vary- SO WATCH OUT!

8) Serve hot with onions and lemon wedges
9) Enjoy!


Friday, February 4, 2011

"Appetizers"- Suralichi Vaadi/ Khandvi

I know what you are thinking...how did she find the time and patience to make THAT??? Yes, with little 'E' and even 'littiler' ( is that a word even?) 'A', days are rough, busy, and crazy. But you know, your mouth still waters..isn't it?
 You still crave stuff...resulting into me making yum yum food like this...
This is my moms recipe( and YES!!! she is here for 3 months now!).

Ingredients:
1 cup Besan/ Gram flour
3/4th cup Buttermilk
2tsp all purpose flour
2 cups water
Salt ,turmeric, chili powder to taste
For Tadka- 1 tbsp oil, mustard seeds, sesame seeds
For Garnishing- Fresh coconut, cilantro

Method:
1) Mix besan, all purpose flour,buttermilk,water, salt,chili powder,turmeric etc into thin paste.No lumps in the batter.
2) Cook the paste in a non stick pan on medium heat and stir continuously

3) When the paste looks shiny/glossy and cooked (10mins) or so, taste and confirm that it is cooked.Taste to check if the batter is cooked or spread some on a flat cookie sheet, let it cool and see if it forms a layer that can be peeled easily.If not cooked the rolls won't come out good.
4) Spread the paste on flat cookie sheet.DO NOT oil the cookie sheet. You will need 3-4 baking trays/ thalis etc so keep those handy.The batter has to be spread fast into thin layer.Will a spatula or a steel 'vati'/bowl.

5) When cooled, with a knife draw vertical lines on the cooled batter.Roll into Vadis/ Khandvis

6) Heat oil, add mustard seeds, sesame seeds and pour on the vadis.
 7) Garnish with grated coconut, cilantro etc

                                     Enjoy the soft texture with slight sour-spicy taste of the vadis!


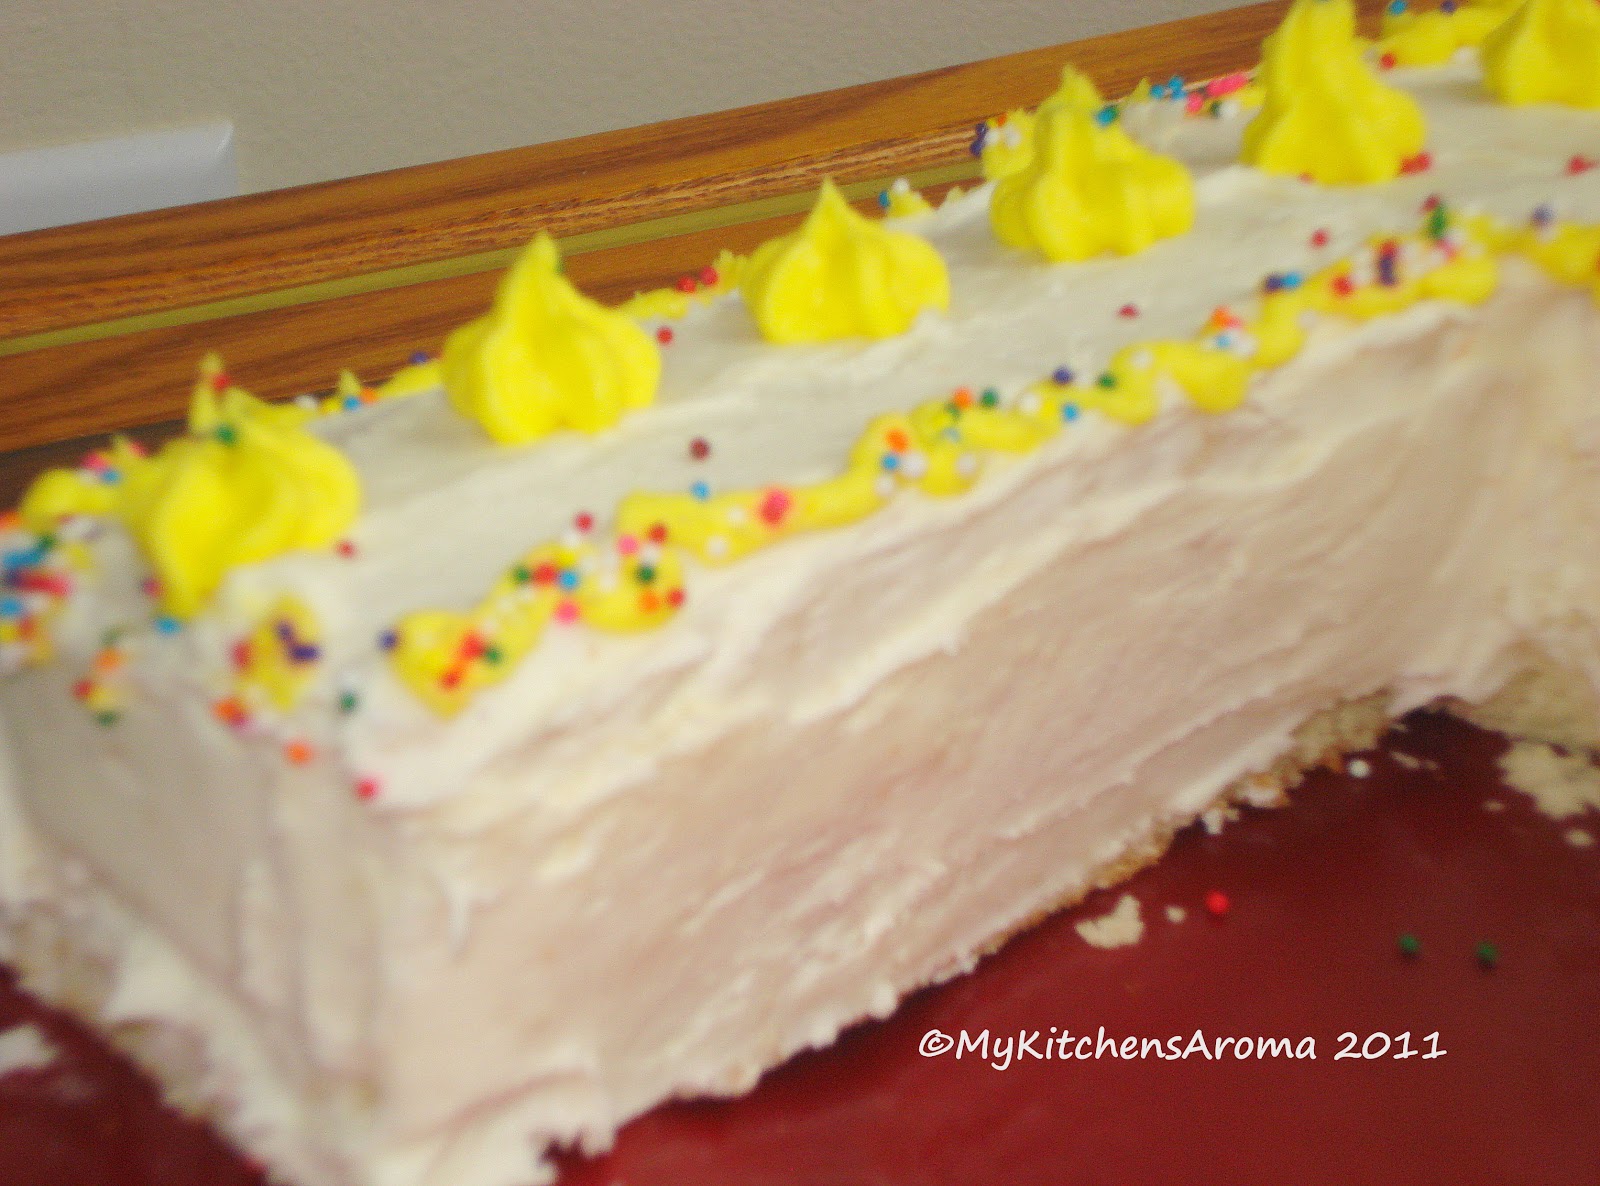
"Sweet Treats"- Vanilla Sponge Cake with Butter-Cream frosting


 So....my little girl "A" (http://www.ayana-eternalblossom.blogspot.com) is 7 months old already!!! Time really flies...it was like we just got her home from the hospital and she is 7 months already! When she was born I had decided that every month we will celebrate her 'month birthday' and I will bake a cake of that months birthday number. Now because of the long hospitalization and all that worrying and tensions, I wasn't able to do as I had wished for. But this month...I DID!!!

I found this really awesome recipe online on the 'CAKE BOSS' website. Now usually, I am not a 'spoon-by-spoon' baker.Meaning I always have this habit of modifying the recipe and then bake.But this time I decided to follow the recipe Spoon by spoon, step by step and  minute by minute. And VIOLA! the cake was D- LI- CIOUSSS!
Here is the link to the recipe:

http://www.cakeboss.com/CakeBossSpongeCake.aspx

I did not do a good job of taking great pics...but believe me, for the amount of butter in the recipe, The cake came out really soft-spongy and moist.

 Same recipe, just poured it in muffin pan and baked Cuppy Cakes for Big Bro 'E'.

For the icing:
Ingredients:
1/2 cup Unsalted butter
1- 1and1/2 cups powdered sugar
1 tbsp heavy cream
few drops vanilla essence
Food coloring
Sprinkles
 Method:
1) Thaw the butter at room temperature
2) Add sugar,cream and vanilla and beat in a electric mixer till fluffy and well blended.
3) Add food coloring if you want it colored
4) Decorate the cake with icing gun and add sprinkles.(Cake should be cooled before icing)
Tip: I like to spray sugar syrup (1/2 cup water+1/2cup sugar----boil for 7-10 mins ---cool) on the cake to keep it moist before frosting the cake.
5) Store the cake at cool temperature.
6) Yumm Yumm Yumm!


Wednesday, November 3, 2010

"Sweet Treats"-Ricotta- Kaju-Pista Rolls


For few years now, one of my Diwali favorites has been "Ricotta cheese Kesar-malai pedhas". This year I was trying to make variety of sweets from the same recipe( I made pedhas,kaju-pista rolls from same base recipe). I modified the 'Pedha' recipe a bit and viola! we have Kaju-Pista rolls. Actually Kaju-Pista rolls will be made a lot differently, but the texture issue with sugar syrup and cashew powder is a little daunting for me at times. So I decided to go the easier route....

Ingredients:
For Pedhas:
425 gms Whole milk Ricotta cheese
1 cup Carnation milk powder
3/4th cup sugar
1/4th cup milk
1tsp ghee
1/4th tsp cardamom powder (Elaichi)
1 pinch saffron (kesar)
Pista and almond chips for decoration
Silver leaf/ foil for decoration

For Kaju-Pista Rolls:
1/2 cup Raw Cashew powder
1/4th cup Raw pista powder
few drops of green food coloring

Method:
1) In a non stick kadhai/skillet, melt 1tsp ghee. On medium to low flame add the ricotta cheese. Stir for about 15 mins. First the cheese will melt and then start getting thick again. This is similar to Khoya/ Khava.
Ricotta can burn easily. So, use non stick skillet and keep the flame low/medium!

2) When it starts leaving the sides of the kadhai, add milk (mixed with saffron/ kesar), sugar and milk powder. Stir all together. Cook till it starts leaving the sides of the kadhai. This will take about 15 mins or so. The mixture will become thin first and then thick.

3) Add the cardamom powder. Mix well. Take off the gas.

4) Let it cool.
5) To 1 part of the pedha mixture,add 1 part Cashew powder.Mix well.To the other part add pista powder and green food coloring.

6) Roll out the Kaju mixture into rectangle on wax paper.Apply butter to the paper.

7) On top of that, place the Pista mixture log and roll out with a buttered rolling pin.

8) Make a 'log' by folding from both sides.It should look like green cylinder covered by white layer.

9) Decorate with Silver leaf or pista pieces.

10) Cut horizontally into 1-1 and 1/2 inch pieces.

11) Store in refrigerator.

These will surely make your Diwali 'extra' special!!

"Appetizers"-Spicy Phyllo Kachoris


With new baby 'A' and preschooler 'E' on hand, you can imagine how 'superfull' my hands are right now! Since Diwali is always special....I couldn't resist making some simple recipes. I did not try out some thing drastically different but gave some old tried recipes a twist and made some new ones!
This one is a fusion of 'Bakarvadi' and 'Kachori'.Since, I was sure I wouldn't have time to make the dough for either, I used these super versatile Phyllo cups( I am in love with  these cups! You can use them to fill so many different things) and they are ready in no time!


Ingredients:
2 pks of mini Phyllo cups( pre baked, 15 cups in each pack)

For the filling:
1/2 cup dry grated coconut/ coconut powder
1 tbsp roasted sesame seeds
1/4cup Thin sev
1tsp Goda masala (maharashtrian curry powder)
1/2tsp garam masala
1/2tsp tamarind extract ( or use tamarind jaggery chutney-- heat jaggery in little water till thick paste,add tamarind extract)
OR
1tsp sugar/jaggery (you can add more)

1/2tsp chili powder (depends on how spicy you want)
1/2 tsp Cumin-coriander powder
salt to taste


Method:
1) Dry roast the sesame seeds till very light brown.
2) To the same pan, add the dry coconut powder.Roast till golden brown.
3)Take off the heat and and then add spices, sugar, salt, tamarind,jaggery,sev.Mix well.This filling should be spicy and sweet-tangy.
4) Heat the phyllo cups on a baking sheet at 350F for 3-4 mins for extra crispness.Let them cool.
5) Fill with above coconut filling and top with extra sev.Serve immediately.

Enjoy the spicy 'bakarwadi style' filling in crisp Phyllo cups!!

Saturday, October 16, 2010

On a Blogging Break...

I am going on a blogging break...

Since many of you enquired, why I haven't been posting on the blog lately...I would like to share this with you...the arrival of our daughter 'Ayana' ...

http://www.ayana-eternalblossom.blogspot.com/


Hope to start blogging soon and sharing with you all :)
Bye,
Deepti